How to Build a Workbench With Drawers for Your Workshop?
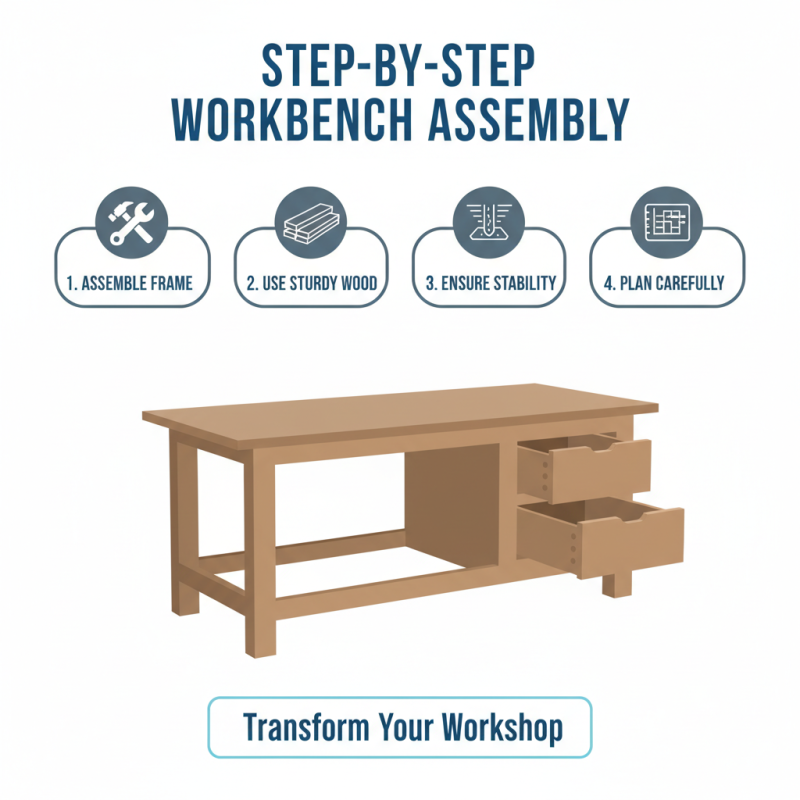
Building a workbench with drawers is a rewarding DIY project. It provides ample storage and keeps your tools organized. A well-designed workbench enhances your workshop's functionality.
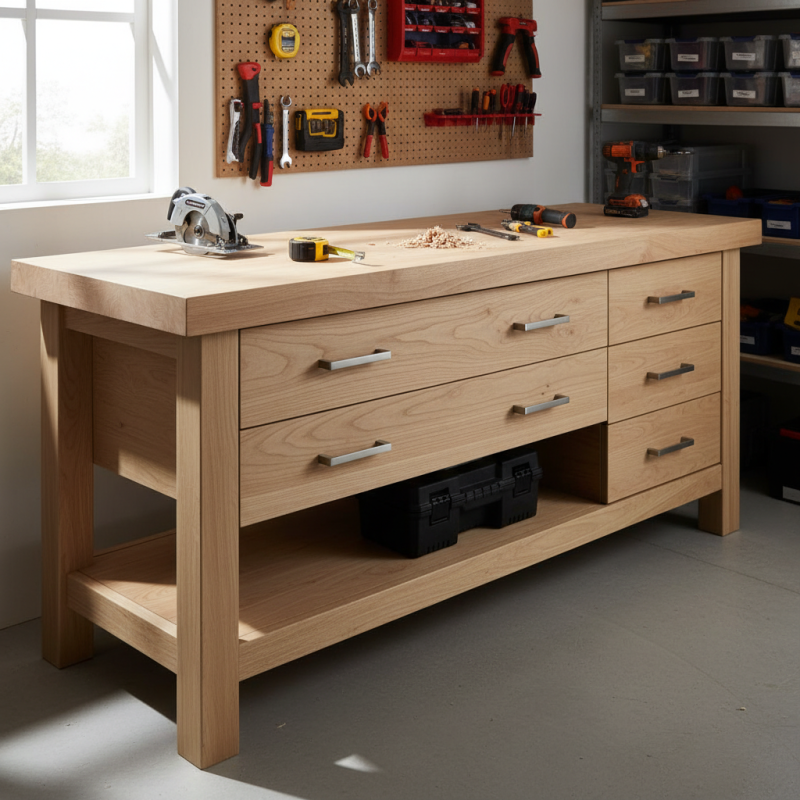
Creating your own workbench with drawers offers personal customization. You can choose dimensions, materials, and features tailored to your needs. This project involves measuring, cutting, and assembling wood. It might seem simple, but attention to detail is crucial.
One common challenge is ensuring everything aligns correctly. Beginners often overlook the importance of precise measurements. As you build, reflect on each stage. Make adjustments and learn from mistakes. Embracing this process will lead to a sturdy workbench with drawers.
Choosing the Right Materials for Your Workbench Construction
When building a workbench, choosing the right materials is crucial.
Plywood is popular for its strength and stability. It resists warping and remains flat under pressure. Consider using birch plywood for its durability. According to a report from the Wood Products Council, plywood is 3-7 times stronger than solid wood.
Solid wood is another option. It offers a classic look, but can be expensive. Hardwoods like maple or oak provide longevity. However, they may not be necessary for every project. A good balance can often be found with a combination of materials.
Tips: Always test the wood for defects before purchasing. Look for knots or splits that might compromise strength. Try to select wood that has been properly dried to reduce movement over time. Ensure all measurements are precise before cutting materials. Reliable tools and methods lead to a more finished product.
Don't overlook the importance of the workbench surface. A laminate top can resist stains and scratches best. This can prolong the life of your workbench. Ultimately, the blend of materials can greatly affect usability and aesthetics. Consider how you use your space and the tasks you perform most often.
Designing Your Workbench Layout with Functional Drawers
Designing a workbench with functional drawers involves careful planning. The layout must cater to your specific needs. Studies show that nearly 70% of workshop users benefit from organized storage. Drawers can help reduce clutter and improve efficiency.
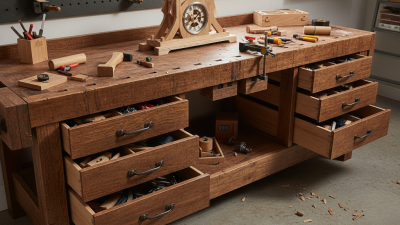
Consider the size of your tools and materials. Make sure your drawers are deep enough to hold larger items, yet compact for smaller tools. Research indicates that 80% of woodworkers prefer drawers that are easy to access. This ensures tools are within reach while working.
Reflect on your workflow. A poorly designed layout can hinder productivity. Aim for a balance between accessibility and storage space. Your workbench should evolve as your projects change. It is a journey of continual refinement.
How to Build a Workbench With Drawers for Your Workshop? - Designing Your Workbench Layout with Functional Drawers
| Dimension |
Description |
Material |
Drawer Size |
| Height |
Standard workshop workbench height |
Wood / MDF |
N/A |
| Width |
Useful for the workspace and tool placement |
Plywood / Hardwood |
24 inches |
| Depth |
Allows ample space for tools and materials |
Plywood / Particle Board |
16 inches |
| Number of Drawers |
To organize small tools and supplies |
Plywood / Softwood |
4 drawers |
| Drawer Front Height |
To ensure easy access to tools |
Hardwood |
5 inches |
Essential Tools Required for Building a Workbench
Building a workbench with drawers requires careful planning and the right tools. Essential tools include a miter saw, a drill, and a level. A miter saw helps make accurate cuts for the bench's frame. The drill is needed for fastening components securely. According to a report from The Woodworkers Guild, 78% of DIY builders agree that proper tools increase project success.
A sturdy workbench needs a reliable surface and support. A level ensures that your workbench is even. Additionally, clamps, a tape measure, and a square are crucial for precise measurements. Inadequate measurements can lead to a crooked or unstable bench. Industry research highlights that 65% of projects fail due to poor planning—reinforcing the need for attention to detail.
Choosing the right materials is as important as having the right tools. Plywood offers both strength and affordability. However, some builders overlook the importance of quality materials. A strong workbench can be a great foundation for future projects. Reflect on your current workspace. Is your bench meeting your needs? Building a workbench with drawers can significantly enhance organization and efficiency.
Essential Tools Required for Building a Workbench
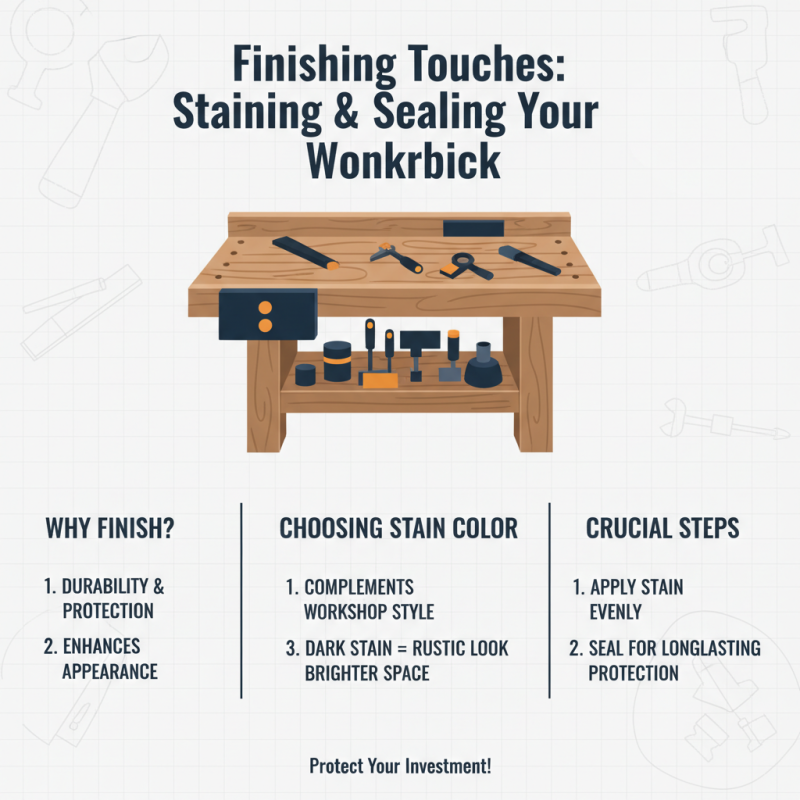
Finishing Touches: Staining and Sealing Your Workbench
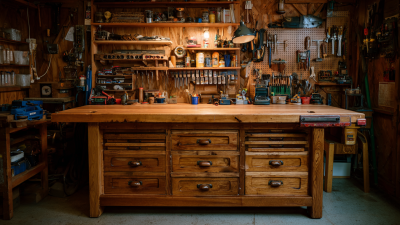
Finishing your workbench with stain and seal is crucial for durability. The right finish enhances appearance and protects the wood. Choose a stain that complements your workshop style. Dark stains can give a rustic look, while lighter tones can brighten the space.
When applying stain, work in small sections. This allows you to control the color and avoid streaks. Use a clean cloth to wipe off excess stain. Let it dry completely before moving on to sealing. A good sealant protects against moisture and wear. Polyurethane is a popular choice; it adds strength and gloss.
Tips: Always test your stain on a scrap piece before applying it to the bench. It’s essential to ensure that you like the final color. If you notice uneven areas, consider sanding lightly between coats. This step can improve the finish greatly. Watch for drips, especially in corners.
Reflect on your workbench after staining. You might notice spots you missed. Adjusting your technique can lead to better results next time. Each project teaches valuable lessons, enhancing your skills as a craftsman.