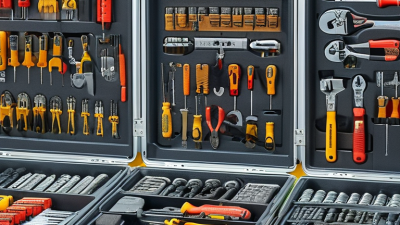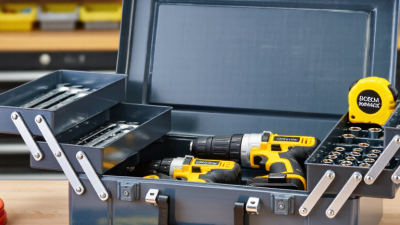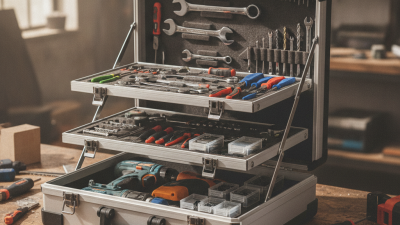
A Cantilever Tool Box may look straightforward, but small design choices can affect daily use, shipping, and long-term value. For global buyers, comparing products means looking beyond photographs and headline prices. Tray depth, hinge strength, handle comfort, and the way compartments open all deserve attention. Small details matter.
A useful evaluation starts with the tools the box must hold. Measure common items, then check internal dimensions and each tray’s rated load with the supplier. Ask about steel thickness, coating, latch construction, and replacement parts. A smooth finish is not proof of durable protection, so request clear specifications and inspect a sample when practical. Test the loaded box on a level surface. Do the trays stay aligned? Does the handle feel secure? These checks take time, but a quick glance can miss a weak joint.
The ten buying tips ahead help organize those questions, from capacity and materials to packaging, communication, and supplier support. Confirm carton dimensions and protective packing before placing a large order; dents at the corners can turn a good product into a frustrating delivery. Compare quotations on matching specifications, not just unit cost. Some details may remain uncertain until a sample is handled, and that is worth admitting. Careful purchasing cannot remove every risk. It can, however, make trade-offs visible and help buyers choose a Cantilever Tool Box that fits real work rather than a catalog image.
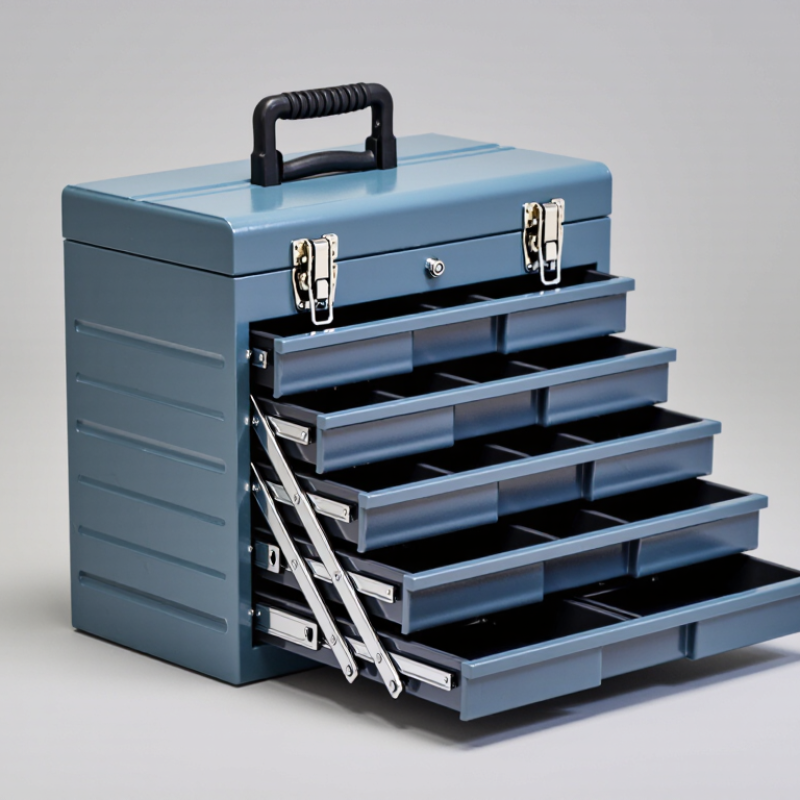
Set capacity from the tools you will carry, not the toolbox’s empty weight. Weigh common kits, spare parts, and consumables, then add the loaded box mass. Keep the vehicle’s payload limit in view; occupants and other cargo count too. A practical allowance for future additions helps, though the right margin depends on your work. Check the maker’s rated payload and mounting limits before ordering. The U.S. Department of Energy and EPA’s FuelEconomy.gov guidance estimates that an extra 100 pounds, about 45 kilograms, can reduce fuel economy by roughly 1%. Small details matter.
Measure the mounting space in millimetres, including wheel arches, handles, and drawer-opening clearance. A box that fits the exterior dimensions may still block a door or require awkward access. Sketch the layout with the longest tools marked, then group frequently used items near the easiest opening. Place heavier equipment low and avoid concentrating it at one end; this can make access and vehicle handling less predictable. A simple loaded mock-up can reveal problems before purchase. It is not a perfect test, but it often catches a drawer that cannot open fully or a drill case that wastes half a compartment.
When comparing cantilever tool boxes, request the steel thickness for the body, trays, and lid separately. These parts may use different gauges, and a single number can hide weak panels. Ask whether the measurement includes paint or coating. A caliper helps. Thin tray floors can flex under a heavy socket set, even when the outer shell feels sturdy. Check folded edges and seams, too; clean bends can reduce sharp edges and help the structure resist twisting.
Inspect the hinges through several full opening cycles. Look for smooth movement, aligned arms, secure rivets, and trays that stay level when extended. Each tray should have its own rated load, not just a total capacity for the box. Ask how that rating was tested: evenly spread tools create less stress than one heavy item placed near an edge. Keep it practical. Compare ratings in consistent units, and confirm whether they describe static storage or movement during transport. A higher number is not automatically better if the hinge or support arms feel loose. I would still request a sample for hands-on checks; photographs rarely reveal a tray that sags under real tools.
For a cantilever tool box, an IP rating helps buyers judge how well its enclosure resists dust and water. IEC 60529 defines the tests behind these ratings. The first digit measures protection against solid particles, from 0 to 6. IP5X means dust may enter, but not enough to interfere with safe operation. IP6X indicates a dust-tight enclosure under the specified test. The second digit describes water protection. An IPX4 rating, for example, covers splashing water from different directions, not immersion. That distinction matters.
Inspect the details that move: lid seams, hinge pins, handle openings, and the joints between cantilever trays. Dust can collect around a folded hinge, while water may sit along a gasket after rain. Ask for evidence. Request the test report for the exact model and configuration, including whether covers were closed during testing. A rating for the outer case may not apply when trays are extended or accessories are fitted. IP ratings also do not measure impact strength or corrosion resistance. A clean laboratory result is useful, but a workshop floor is less predictable; I would still check how seals hold up after repeated opening and closing.
A corrosion claim is useful only when the test method and duration are clear. Ask whether the supplier used ISO 9227 and which procedure: neutral salt spray (NSS), acetic acid salt spray (AASS), or copper-accelerated salt spray (CASS). These methods are not interchangeable. A toolbox tested for 240 hours under NSS cannot be fairly compared with one tested under CASS for the same duration.
Request the test report, not just a number on a product sheet. Check the tested coating, material, sample preparation, exposure hours, and inspection criteria. Were the drawer edges, hinges, and latch included, or only a flat panel? Those details matter. Look for the laboratory name, test dates, and recorded results, and confirm that the sample represents the toolbox you plan to buy. A clear report builds confidence.
Hours are not years outdoors. Salt-spray testing offers controlled comparison, but it does not predict a toolbox’s exact service life in a coastal warehouse or on a wet jobsite. Ask how the test relates to the intended conditions, then inspect seams and drainage points yourself. I have seen impressive figures distract buyers from thin coatings around handles. Easy to miss. If the supplier cannot explain the procedure or provide supporting records, treat the claim as unverified—not automatically false, but not proven either.
For a cantilever tool box, compliance paperwork should match the exact model you plan to buy. Ask the supplier for RoHS and REACH declarations, then check the product code, issue date, and listed materials. A document for a similar box may not cover its coating, handle, or plastic parts. Keep copies with your purchase records. Small detail, big difference.
Read the warranty terms before comparing prices. Confirm the coverage period, what counts as a defect, and who pays return freight. Ask whether hinges, latches, and drawer slides are covered, since these parts take repeated strain. Get the process in writing, including the proof needed for a claim. Warranty wording can look clear, until a part fails.
Export packaging deserves a physical checklist. Request photos of the closed box, corner protection, and pallet arrangement before shipment. For long routes, moisture barriers and secure strapping can reduce rust and transit damage. Check that cartons show handling marks and destination details. I would not assume standard packaging is enough; suppliers may interpret “export packing” differently, and that point is easy to overlook.
Confirm RoHS/REACH compliance, warranty terms, and export packaging.
Each bar counts the specific verification points listed for that topic in this checklist. These are checklist counts, not survey results or product ratings. Request current documents and confirm requirements for your destination market.